
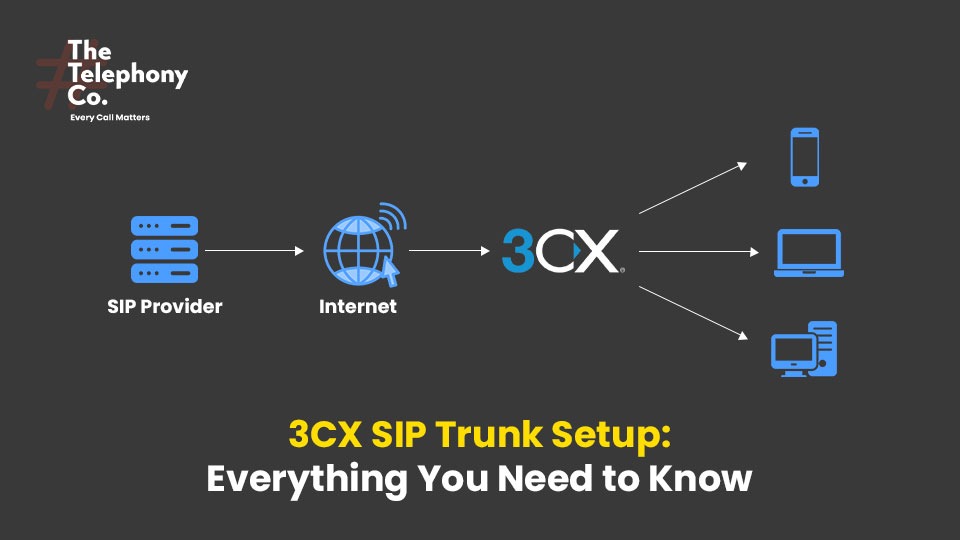
3CX SIP Trunk Setup is essential for seamless communication. In this article, we’ll explain how to set it up step by step. Setting up a SIP trunk in 3CX allows your PBX to make and receive external phone calls over the internet (VoIP) instead of traditional phone lines.
What You Need Before You Start
If you want to make and receive calls over the internet, you first need to create an account with a SIP trunk provider. A SIP trunk provider is also known as a VoIP service provider. Once you have an account with a SIP trunk, integrating it with 3CX becomes quick and easy.
Before you begin the setup, ensure you have:
-
A working 3CX system (hosted or on-premise)
-
SIP trunk credentials from your VoIP/SIP Trunk provider
-
Public static IP (if not using 3CX Hosted)
-
Access to the 3CX Management Console
-
Correct firewall/NAT settings if on-premise
Log into the 3CX Management Console
- Open your browser and log in to the 3CX Admin Console
- Navigate to “Admin” and open the Dashboard
- Click the third option — “Voice & Chat”
- A new panel will open. Click the first option — “Add Trunk“
- Then click “Add SIP Trunk“
Select Your SIP Trunk Provider
- Choose your country
- From the dropdown, select your SIP trunk provider
- Enter the main trunk number (the number assigned by your provider)
- Click “OK”
Configure SIP Trunk General Settings
After adding the trunk, configure the following:
General
- SIP Server Hostname or IP: Provided by your SIP trunk vendor
- SIP Server Port: Usually 5060 (or as specified by your provider)
- Authentication Type: Usually “Register/Account based”
- Authentication ID / User ID: From your SIP trunk details
- Authentication Password: As provided
DIDs
- Add the Direct Inward Dialing numbers you have received
- Click “OK” to save
Configure Outbound Rules
- Go to Outbound Rules > Click “+ Add”.
- Name the rule (e.g., “Outbound via SIP”).
- Set the dialing pattern (e.g., calls starting with 9 or length 10).
- Under “Make outbound calls on”, select your SIP trunk.
- Click “Save”.
Firewall & Network Configuration
- Ensure your firewall is properly configured:
- Open and forward SIP and RTP ports (5060, 9000–10999 UDP).
- Use the 3CX Firewall Checker (found in dashboard) to test your setup.
- For on-premise installations, configure NAT and ensure STUN or Static IP is properly used.
Test Your SIP Trunk
- Make a test inbound call from an external number to your SIP number.
- Make a test outbound call from an extension.
If calls connect correctly with audio both ways, the setup is successful.
Final Thoughts
Setting up a SIP trunk in 3CX is a relatively simple process when you follow these steps. With a SIP trunk, your business can save money and gain flexibility using VoIP technology. Always ensure your SIP Trunk provider is compatible with 3CX and your firewall is properly configured.